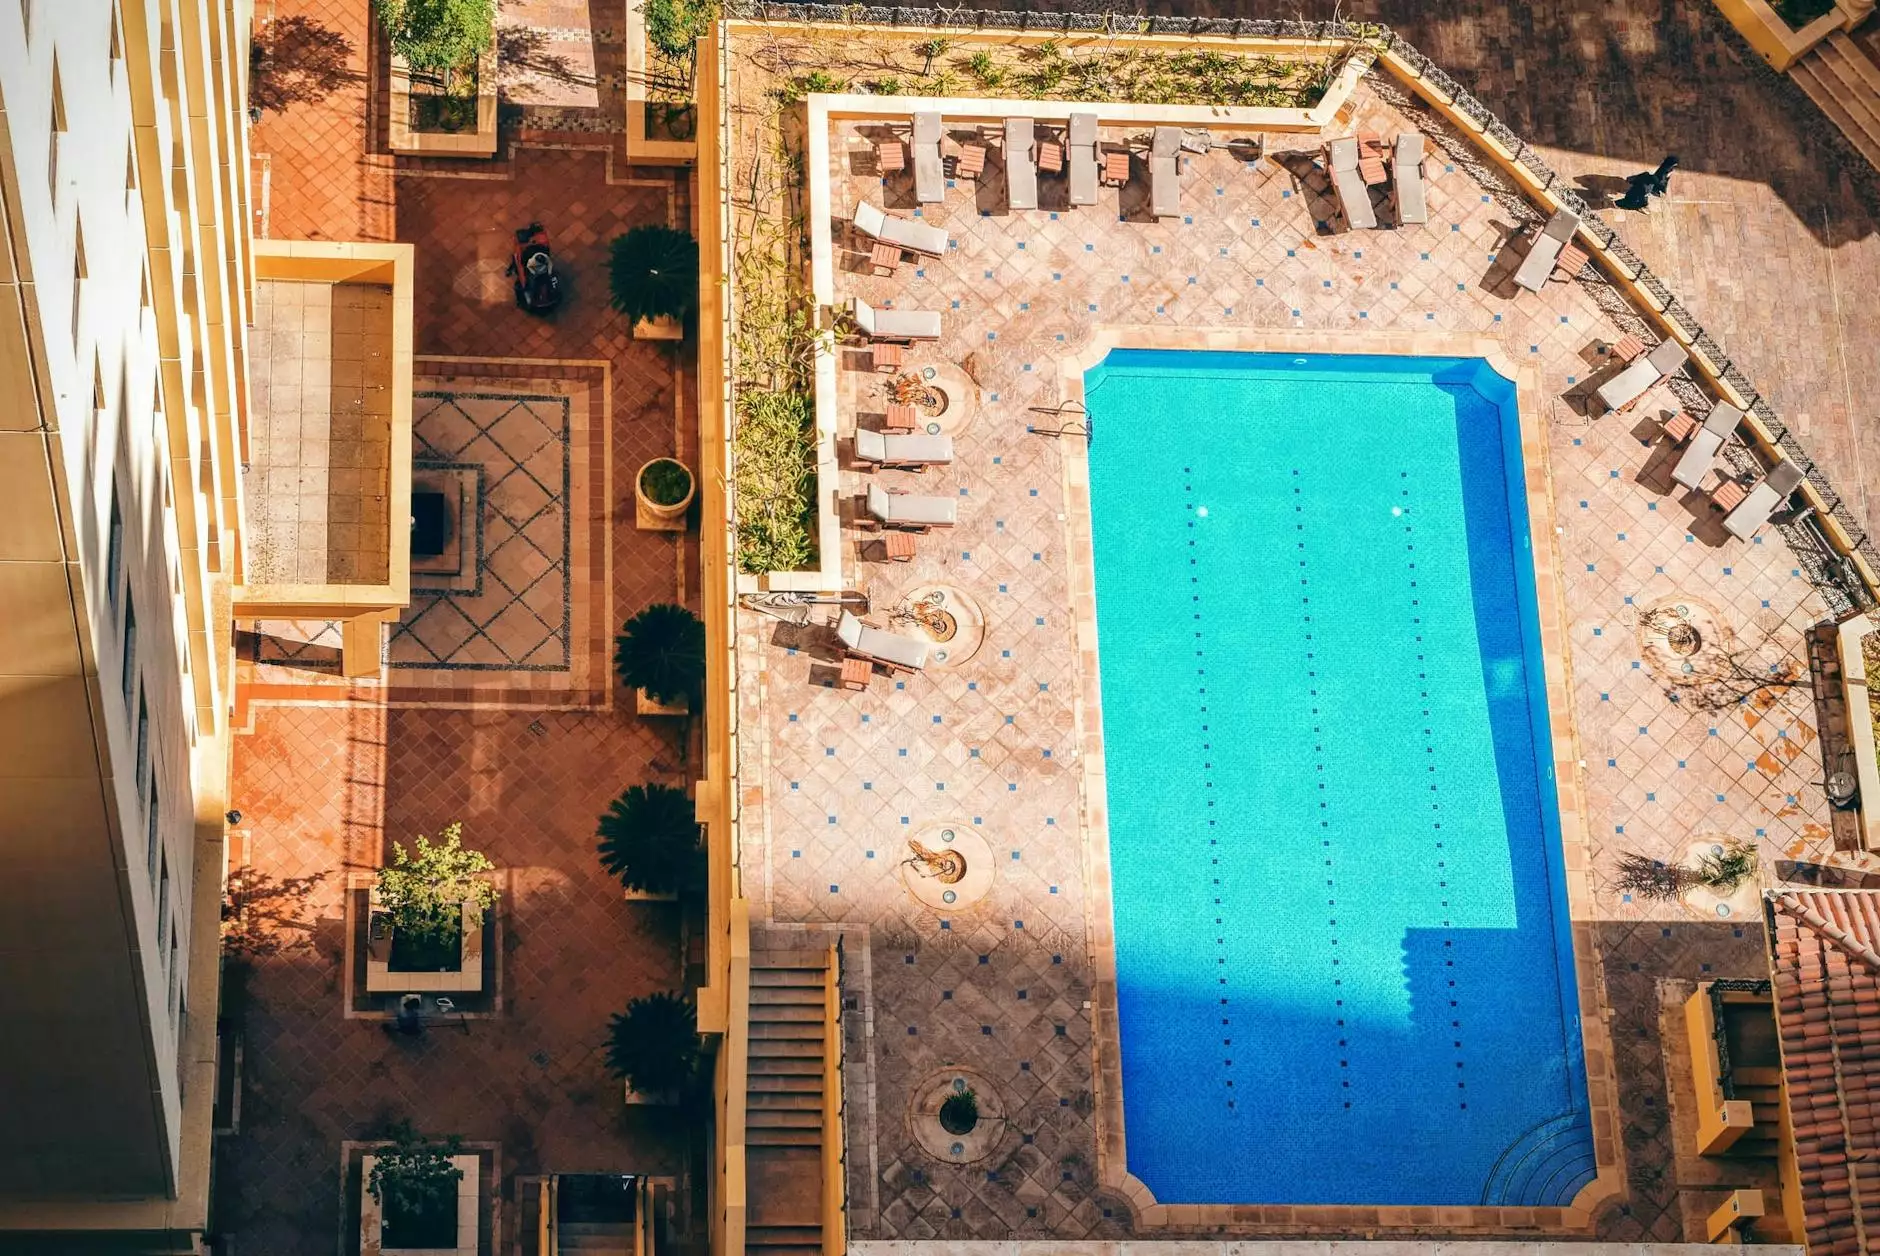
The Ultimate Guide to Installing Tiles Around the Swimming Pool
In today's modern landscaping and construction, enhancing the beauty and functionality of your swimming pool area is paramount. One of the most popular choices among homeowners and pool contractors alike is the use of tiles around the swimming pool. Not only do these tiles enhance the aesthetics of the swimming area, but they also provide safety, durability, and ease of maintenance. In this extensive guide, we will delve into the various aspects of installing tiles around your swimming pool, including types of tiles, installation techniques, benefits, and maintenance tips.
Why Choose Tiles Around the Swimming Pool?
When deciding on the surface surrounding your swimming pool, several factors come into play. Tiles offer a range of benefits that make them an excellent choice for poolside areas:
- Enhanced Aesthetics: Tiles come in a multitude of colors, patterns, and textures, allowing homeowners to create a stunning visual impact around their pools.
- Safety: Many tiles are designed with textured surfaces, providing excellent grip and reducing the risk of slips and falls.
- Durability: Quality tiles are resistant to weathering, staining, and fading, making them a long-lasting solution for pool areas.
- Ease of Maintenance: Tiles are typically easy to clean and resistant to algae, which helps maintain a hygienic swimming environment.
- Versatility: Tiles can be used not just around pools but also on pool walls, fountains, and surrounding patio areas, providing a cohesive design.
Types of Tiles for Pool Areas
When it comes to selecting tiles for your swimming pool, you have several options to consider. Each type of tile offers unique properties and styles:
1. Ceramic Tiles
Ceramic tiles are one of the most popular choices for pool areas. They are affordable, available in a vast array of designs, and offer decent slip resistance when finished properly. Ceramic tiles are also easy to clean, making them a practical choice.
2. Porcelain Tiles
Porcelain tiles are denser and less porous than ceramic tiles, which makes them even more resistant to water and stains. They come in various styles, including imitations of natural stone, and can withstand extreme weather conditions, making them perfect for outdoor pools.
3. Natural Stone Tiles
Natural stone tiles, such as limestone, slate, or granite, create a luxurious look that many homeowners seek. However, they often require sealing and more maintenance to protect against water damage, staining, and algae growth.
4. Glass Tiles
For a truly stunning effect, glass tiles can be used as accents or for entire surfaces. These tiles reflect light beautifully, creating a sparkling effect that enhances the beauty of your pool. However, glass tiles can be more difficult to install and may require a professional.
Installation Techniques for Tiles Around the Swimming Pool
Proper installation is crucial to ensure the tiles perform well and maintain their appeal over time. Here are the steps involved in installing tiles around your swimming pool:
Step 1: Prepare the Area
Before the installation begins, ensure the area is clean and free of debris. Any old surfaces should be removed, and the base must be leveled to create an even foundation for the tile.
Step 2: Choose the Right Adhesive
Using the correct adhesive is crucial for ensuring your tiles stay in place. A thin-set mortar is commonly used, but for wet areas like pool surroundings, a modified thin-set is recommended for added moisture resistance.
Step 3: Layout the Tiles
Before applying adhesive, dry fit the tiles to determine the best layout. This will help you visualize the pattern and make necessary adjustments to achieve a cohesive look.
Step 4: Apply Adhesive and Set Tiles
Once your layout is finalized, apply adhesive to a small section of the base and press the tiles into place. Use spacers to maintain uniform gaps for grout. Continue this process until the entire area is covered.
Step 5: Grouting and Sealing
After the adhesive has cured, the next step is to apply grout between the tiles. Use a rubber float to ensure even application and remove excess grout. After the grout dries, apply a sealant if required, especially for natural stone tiles, to protect against moisture and stains.
Maintenance Tips for Tiles Around the Swimming Pool
To keep your pool area looking pristine and prolong the life of the tiles, regular maintenance is essential. Here are some tips:
- Regular Cleaning: Routinely sweep the area to remove debris and rinse the tiles with water. Occasionally use mild detergents for deeper cleaning.
- Check for Damage: Regularly inspect the tiles for cracks or loose tiles. Address any issues promptly to avoid further damage.
- Seal as Needed: If you have natural stone tiles, make sure to reseal them annually or as recommended by the manufacturer to maintain their protective barrier.
- Prevent Algae Growth: Use appropriate pool chemicals to control algae and bacteria, and regularly clean and scrub the tiles to prevent build-up.
Conclusion
Investing in tiles around the swimming pool is a decision that can significantly enhance the beauty, safety, and functionality of your outdoor space. With a variety of styles and materials available, you can create an inviting atmosphere that complements your home and lifestyle. By following proper installation techniques and maintaining your tiles regularly, you can enjoy a stunning pool area for years to come.
Whether you're considering a renovation or building a new pool, don’t hesitate to reach out to professionals for guidance and top-notch service. At poolrenovation.com, we are committed to helping you create the pool of your dreams, focusing on every detail—from the choice of tiles to the overall design aesthetics. Get in touch with us today to learn more about our services in Swimming Pools and Water Heater Installation/Repair.